So you’ve picked up the guitar, and you’d like to learn how to strum along with your favorite songs on spotify/YouTube/radio. This blog post is designed to help you start learning your first guitar chord!
Chord Charts
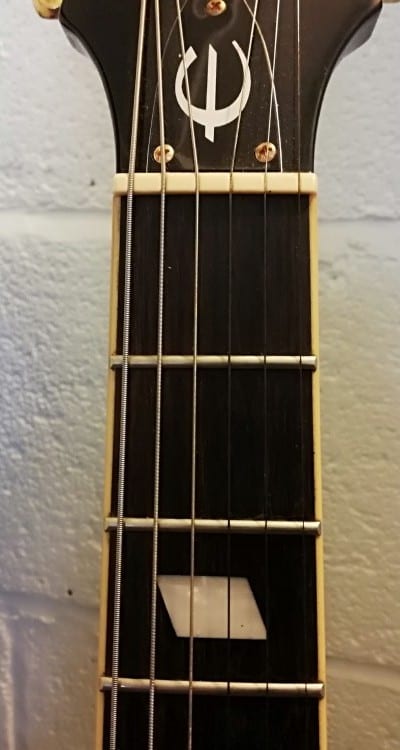
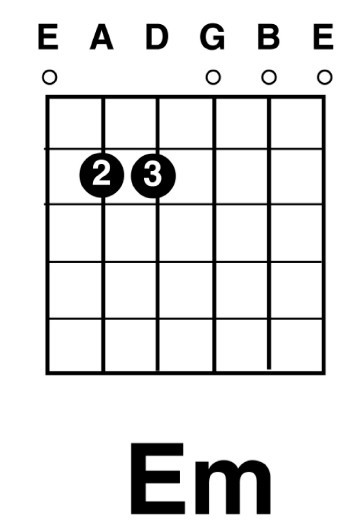
The first thing you’ll get to know when you’re learning to read chords, is how to read a chord chart! A chord chart is a visual representation of a guitar as if it was upright on a stand such as this:
How To Read a Chord Chart – A Quick Guide
The image below shows you all you need to know about a chord chart!
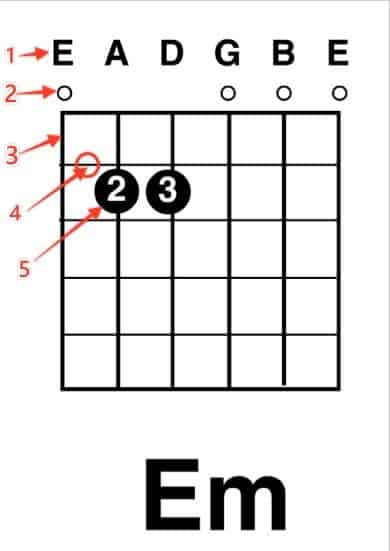
1. The names of the Strings
2. There are one of two options here O means an open strings (strum without pushing down), X means you don’t play!
3. The lines going down are your strings
4. The lines going across are the frets
5. The dots (sometimes with numbers on them) are where you place your fingers. Each finger has its own number! If you’re not sure refer to the image on the right there, and it’ll get you all caught up!
Your Fingers are Numbered
Silly joke, but it’s very true, as you saw from the chart above each finger has a respective number, here’s a nice little image to help you to figure out what finger does what:
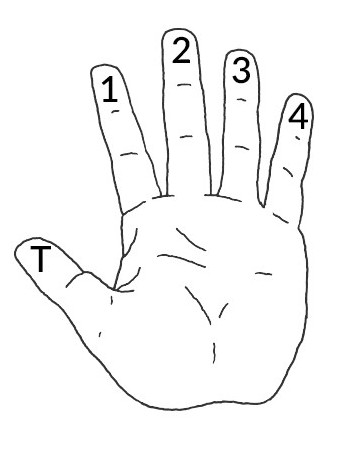
To recap:
Finger 1 : Index
Finger 2: Middle
Finger 3: Ring
Finger 4: Pinky
Playing Our First Chord (Em)
So let’s take another look at our chord chart now!
So there are two main aspects of playing a chord:
1. Getting your fingers into position
2. Applying Pressure
3. Strumming from the correct string!
Getting Your Fingers In Position
Let’s do this:
- Place your 2nd finger on the 2nd Fret of the A String
- Place your 3rd finger on the string right below that
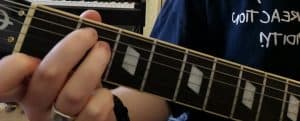
Once you’ve done this it should look a little something like this:
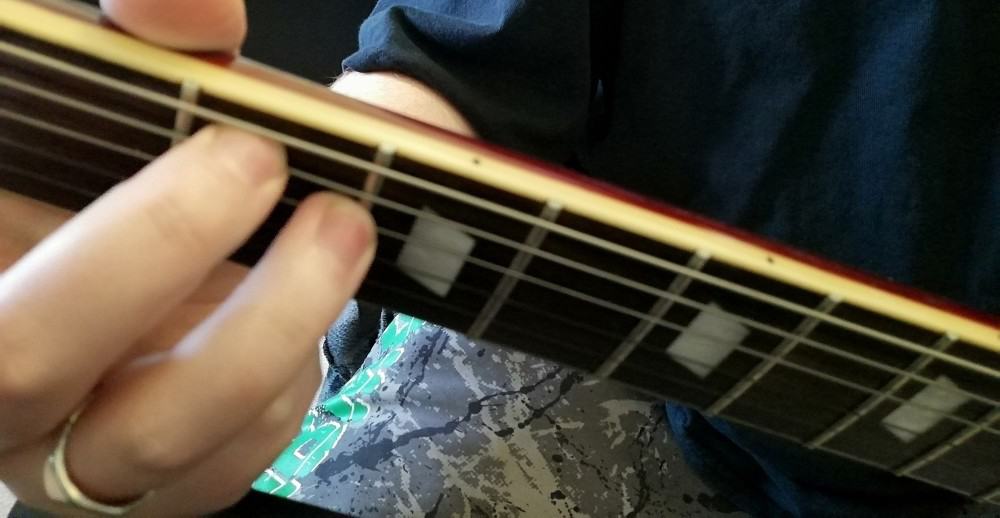
Applying Pressure
Once your fingers are in position, you’ll want to apply slight pressure down upon the string (if you haven’t already) To make sure you don’t hit any of the other strings make sure you’re using the tips of your fingers – the more to the tips you are, the easier and clearer it will be.
Once you’ve done that!
Take your other hand, and starting from the E string, strum your fingers down each string from top to bottom, first of all try strumming all the strings together, then after that try playing the chord one string at a time, to double check the correct finger pressure and note is playing!
Having a few issues with these chords… click here to view the Busy Musician Troubleshooting Guide & and a little bonus exercise to get your practice on!